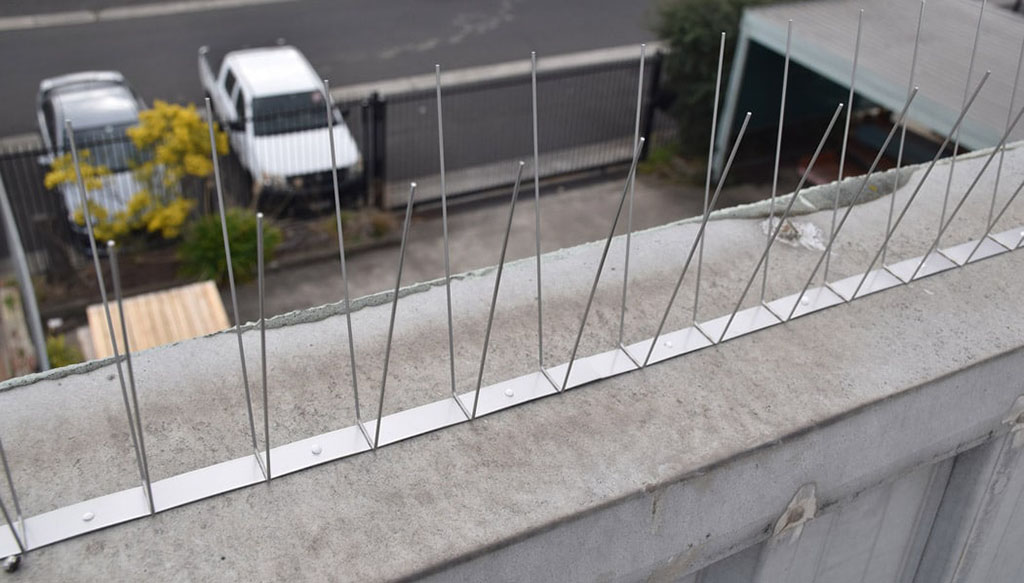
Undoubtedly birds are fascinating creatures, however, they could really cause damages to your property. The obvious danger of letting pest birds stay longer is that they create more and more damages to your roof and any part of the house where birds roost and nest. What’s more, the droppings and dangerous bacteria and parasites can transmit horrible diseases to your family, employees, and customers. Today, we’ll learn how to install bird spikes to fight against these pest birds keep them away your property.
Anti Bird Spike is an effective, humane, and economic bird control solution, which can be easily installed on ledge, such as window sills, beams, under eaves, rooftops, or any flat or curved surface.
We have three types of bird spikes, 100% Stainless Steel Bird Spikes, Polycarbonate Bird Spike, and Stainless Steel Bird Spike with Plastic Base. All work equally well, however the polycarbonate spikes are slightly more visible, and stainless steel spikes are more durable. The spikes come in a range of widths and spike densities depending on the depth of the area you are trying to protect.
Before installing bird spikes, make sure they are the right product for the situation. If birds are nesting heavily in an area, you might want to choose a physical deterrent such as Bird Netting or Bird Slop to permanently block the birds from returning. Also Bird Spikes should be used for birds starling size or larger such as pigeons and gulls. Smaller birds such as sparrows will sometimes squeeze their way in between spikes to get back to a good sppot.
To get started with bird spikes installation, you should make necessary preparation:
Tools you will need:
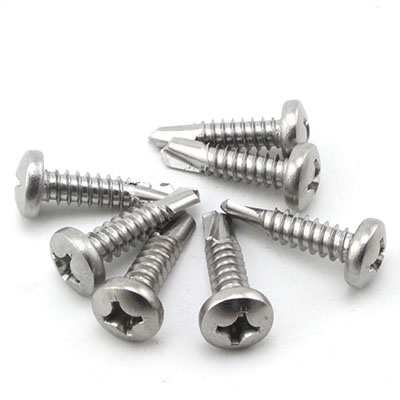
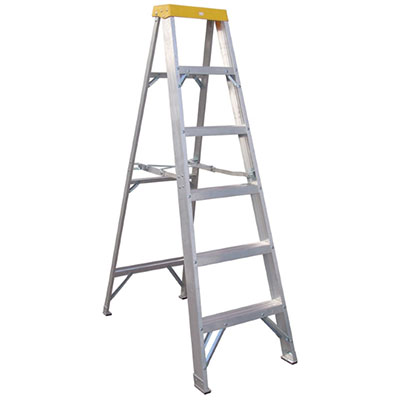

- Ladder
- Gutter Bird Spikes
- Self Taping Screws (optional)
- Drill (optional)
Prepare for Easy Installation
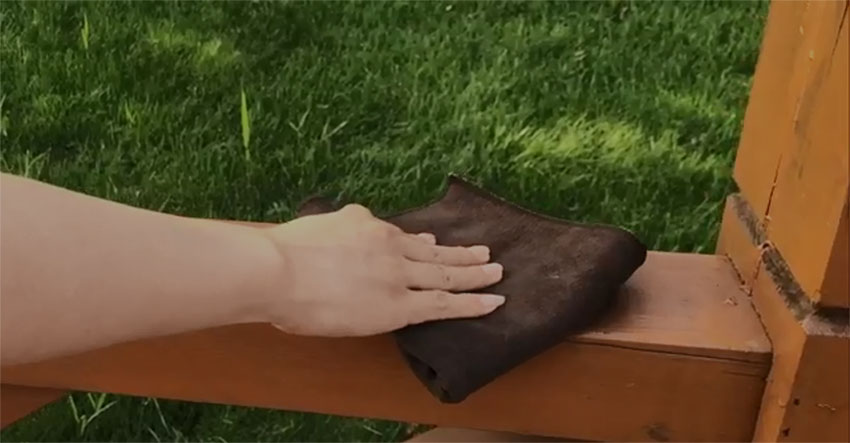
Step 1. Clean the surface
Use a disinfectant to clean the surface and make sure the area is dry before installation.
You can use a 10% bleach or ammonia solution to disinfect the area. All debris must be removed including overhanging branches, leaves, and nesting material before disinfecting the area.
Step 2. Choose Your Mounting Method
Anti Pigeon Bird spikes can be installed using our range of spike adhesives, or can be nailed or screwed to the required surface. We stock a range of specialist clips and fixings that allow installers to fit spikes to gutters, casement windows and pipes, or other tubular surfaces. You can choose the right mounting method according to the surface.
For Wood: Use nails or self-tapping screws to secure bird spikes into a wood surface. There are two sets of holes between each fan of spikes. Make sure the ends are secured tightly and at least one screw is placed every six inches.
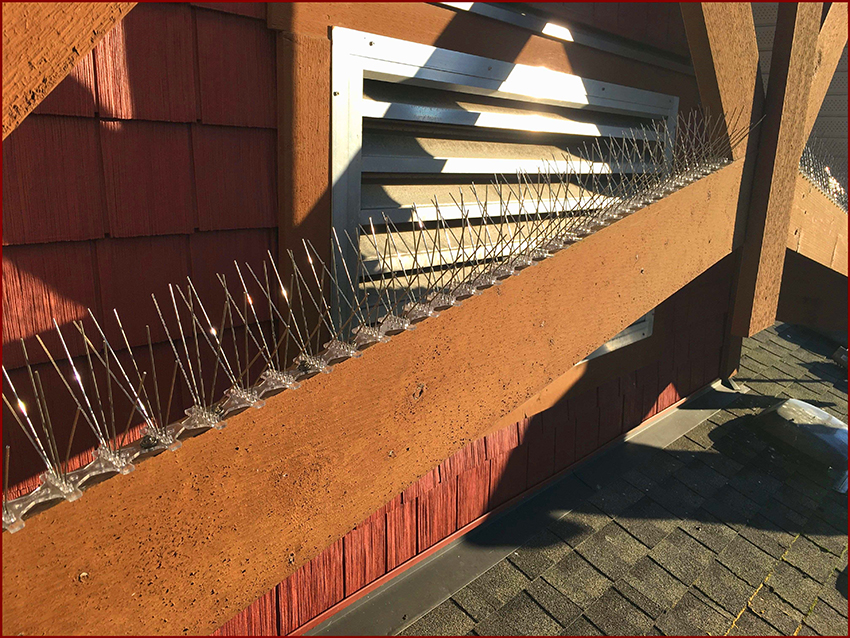
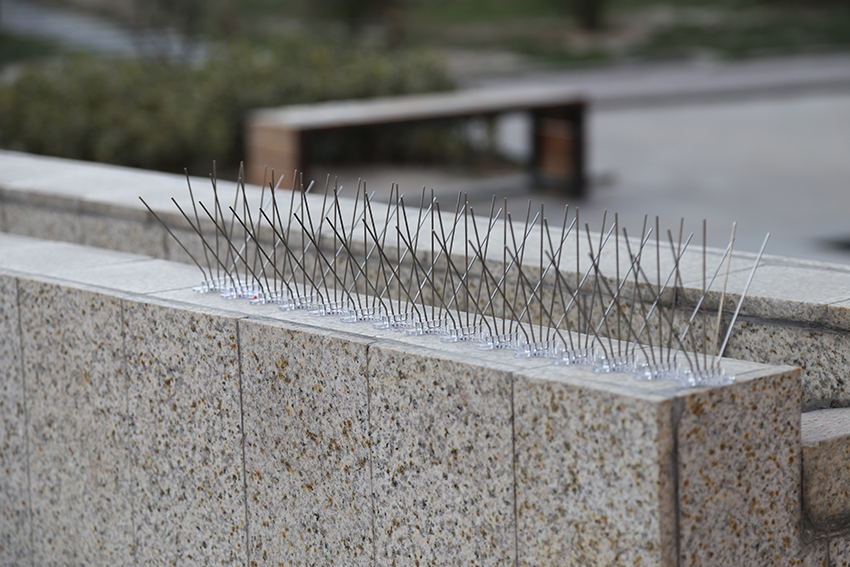
For Concrete or Stone: Outdoor construction adhesive can be used to secure bird spikes down to a variety of surfaces. Silicon adhesives are not recommended. For extra security, screw or bolt down the spikes along with using an adhesive.
Step 3. Adjust to Fit Your Size
Along the base of each base strip, there are snap-off points that you can easily break off to the exact size required to small areas.
Step 4. Bird Spike Installation
At last, install bird spike to the area you need to protect. You could have noticed that along the bases there are patented fixing holes. Use nails or screws through holes to secure bird spikes into the wood surface. For concrete surface, apply a bead of free nail glue to the base strip and push down firmly on the ledge.


