


If you are dealing with birds constantly landing on roofs, ledges, or equipment, you are probably already looking for a reliable solution. The good news is that bird spike systems are one of the simplest and most effective ways you can stop the problem at the source.
In this guide, you will learn exactly how to install bird spike, step by step. Whether you are working with stainless steel bird spikes, plastic bird spikes, or heavy-duty anti bird spikes, the installation process is straightforward if you follow the right method.
Why You Should Use Bird Spike Systems First?
Before you start installation, you should understand why bird spikes work so well. Instead of chasing birds away with sound or chemicals, you physically prevent landing.
When you install bird deterrent spikes, you remove the stable surface birds rely on. As a result, pigeons and other birds simply move elsewhere.
This is especially important for high-traffic urban areas where pigeon bird spikes are commonly used on rooftops, air conditioners, and building edges.
Step 1: Choose the Right Type of Bird Spike
First, you need to select the correct product for your environment. Different surfaces require different solutions.
Stainless Steel Bird Spikes
If you want maximum durability, choose stainless steel bird spikes. You should use them on rooftops, industrial structures, bridges, and outdoor equipment. They resist UV, rain, and corrosion.
Plastic Bird Spikes
If you are working on residential or light-duty surfaces, plastic bird spikes are a cost-effective option. They are lightweight and easy to install on windowsills, balconies, and signage.
Both types are effective spikes for bird control, but your choice depends on pressure level and environment.
Step 2: Clean the Installation Surface
Next, you should always clean the surface before applying bird spikes. This step is often ignored, but it is critical for long-term performance.
Remove dust, bird droppings, grease, or debris. If the surface is dirty, even the best bird repellent spikes will not stick properly.
After cleaning, let the area dry completely before moving to the next step.
Step 3: Measure and Plan the Layout
Now you should measure the area where you want to install bird deterrent spikes.
You should check:
- Length of ledge or beam
- Width of landing area
- Bird activity zones
By planning ahead, you ensure full coverage with no gaps. Birds are smart, and even small gaps can reduce the effectiveness of anti bird spikes.
Step 4: Apply Adhesive or Fixing Method
Depending on the surface, you can install bird spike systems in two common ways:
1. Adhesive Installation
Most bird spikes come with a base designed for strong outdoor glue or silicone. Apply a continuous line of adhesive on the base, then press it firmly onto the surface.
2. Screws or Mechanical Fixing
For industrial environments, especially when using stainless steel bird spikes, you can use screws or clips for extra stability.
Either way, make sure the spikes are tightly secured so they withstand wind and weather.
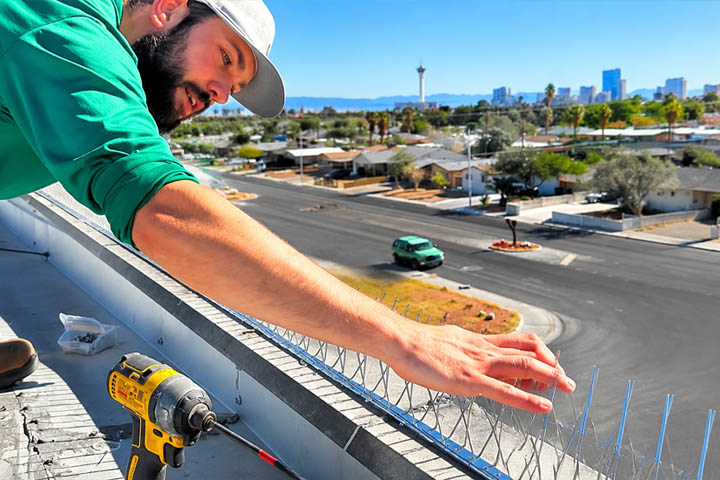
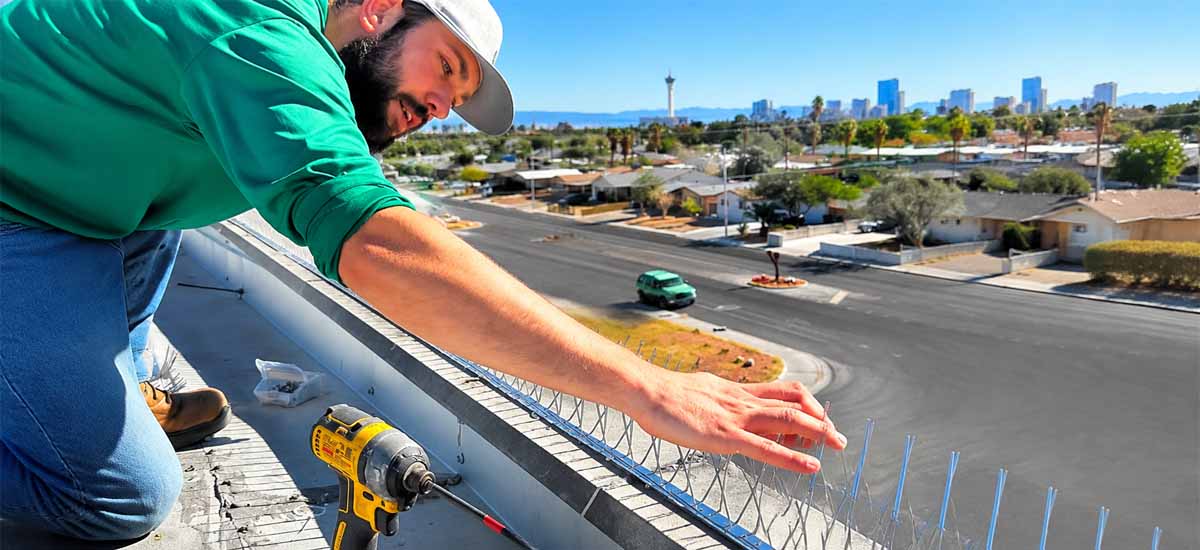
Step 5: Install Bird Spikes Correctly
Now you are ready to place the bird spikes.
You should align each section carefully and press it firmly into position. Make sure there are no gaps between modules.
If you are using pigeon bird spikes, you should especially cover corners and edges where pigeons prefer to land.
For long surfaces, you can connect multiple sections of bird deterrent spikes to create continuous protection.
Step 6: Check Coverage and Adjust
After installation, you should inspect the entire area. Look for:
- Open gaps between spike sections
- Weak adhesive areas
- Missed landing zones
If necessary, adjust or add more bird repellent spikes to ensure full protection.
This final check ensures your system works at maximum efficiency.
Where You Can Install Bird Spike Systems
You can use anti bird spikes in many environments, including:
- Building rooftops and parapets
- Balcony railings and window ledges
- Air conditioning units
- Solar panel edges
- Warehouse beams and signage
Whenever birds repeatedly land, you can install spikes for bird control to eliminate the issue permanently.
Why Proper Installation Matters
Even the best bird spike product will not perform well if installed incorrectly. Proper alignment, surface preparation, and full coverage are the key factors that determine success.
When installed correctly, bird spikes provide long-term, maintenance-free protection. You don’t need chemicals, electricity, or constant monitoring.
Why Choose Antibirdspike
If you want reliable and professional bird control solutions, you can trust Antibirdspike.
We provide high-quality bird spikes, including stainless steel bird spikes, plastic bird spikes, and advanced bird deterrent spikes designed for global applications. You can use them confidently for residential, commercial, and industrial projects.
Final Thoughts
Now you know exactly how to install bird spike systems step by step. From surface preparation to final alignment, each stage matters.
If you follow this guide, your bird spikes will deliver long-lasting protection and effectively prevent pigeons and other birds from returning.
Instead of dealing with cleaning costs and damage, you can take action today with professional anti bird spikes from Antibirdspike and keep your property permanently bird-free.